
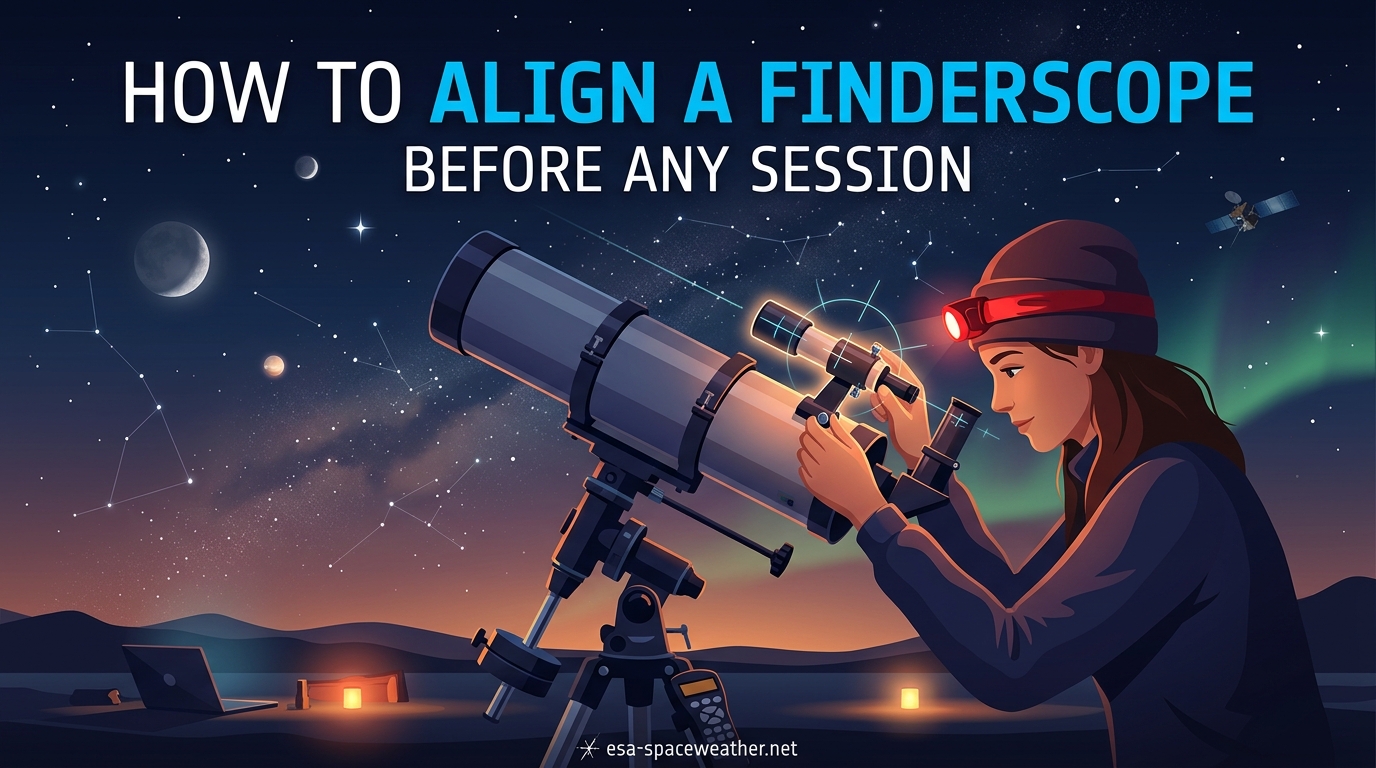
Nothing kills a stargazing session faster than a finderscope that points somewhere other than where your telescope looks. You spend ten minutes hunting for a galaxy you know is right there, only to realize your finder is pointing at empty sky. Every astronomer has been there, and it is one of the most frustrating things you can deal with on a clear night.
When you know how to align a finderscope properly, locating objects becomes second nature. You center your target in the finder, look through the eyepiece, and the object is right there waiting for you. In this guide, I will walk you through the complete process from daytime setup through nighttime verification, along with troubleshooting tips for the common problems that trip people up.
Table of Contents
What Is a Finderscope and Why Alignment Matters
A finderscope is a small auxiliary telescope or aiming device mounted on your main telescope’s optical tube. It gives you a much wider field of view than your main eyepiece, which makes it possible to locate celestial objects before viewing them at higher magnification. Think of it as the wide-angle lens that gets you close enough for your main telescope to finish the job.
Alignment means making sure the finderscope and main telescope point at exactly the same spot in the sky. When your finderscope is properly aligned, any object you center in the finder will also appear in your telescope’s field of view. Without this alignment, objects centered in your finder could be completely outside what your telescope can see.
Even a small misalignment of one or two degrees can put your target outside the narrow field of view of a high-magnification eyepiece. That is why finder scope alignment should be the first thing you do before every observing session, not just when you first unbox your telescope.
Optical Finderscopes
An optical finderscope is a miniature refracting telescope, usually with a magnification between 6x and 10x and an aperture of 30mm to 50mm. It shows an actual magnified image of the sky through a lens system, typically with a crosshair reticle in the center for precise aiming.
The most common designs include the straight-through finder, where you look directly along the telescope tube, and the right-angle finder (sometimes called a RACI finder, which stands for Right-Angle Corrected Image). The RACI finder uses a correct-image prism so you see the sky oriented the same way as on star charts, and you can view comfortably from the side rather than craning your neck along the tube.
Optical finders are mounted in a bracket with either two rings holding three or six adjustment thumbscrews, or a dovetail shoe that slides into a base attached to the optical tube assembly. The thumbscrews push against the finder body to tilt it in different directions.
Red Dot Finderscopes
A red dot finder, also called a reflex finder or reflex sight, does not magnify the sky at all. Instead, it projects a small red dot (or sometimes a circle or reticle pattern) onto a glass window that appears to float against the sky. You keep both eyes open, center the red dot on your target, and that object should appear in your telescope.
Red dot finders like the Celestron StarPointer or Telrad are popular because they give you an unmagnified, correct-image view of the sky. You can see the actual constellations and star patterns around the dot, which makes star hopping much more intuitive. The trade-off is that you cannot see fainter stars that an optical finder would reveal.
Most red dot finders have a brightness control knob that adjusts the intensity of the projected dot. Some advanced models, like the Celestron StarPointer Pro, project a dual-circle reticle instead of a single dot for more precise aiming.
How to Align a Finderscope: Daytime Steps
The best time to align a finderscope is during the day, well before your observing session begins. Daytime alignment lets you see clear, well-defined targets and makes the adjustment process much easier than fumbling around in the dark with a dim red flashlight in your teeth.
Choosing Your Alignment Target
The ideal alignment target is a stationary, distant, terrestrial object. A telephone pole, a chimney, a distant rooftop, a church steeple, or a road sign all work well. The key requirements are that the object stays still and is far enough away that both your finder and your telescope can focus on it.
Forum users on CloudyNights and Reddit consistently recommend targets at least a half mile away. Closer objects can cause parallax issues where the finder and telescope focus at slightly different apparent positions. The cross arms of a telephone pole are a particular favorite among experienced observers because they provide a distinct center point that is easy to identify in both the finder and the eyepiece.
Pick a target that is easy to recognize and distinctive enough that you will not confuse it with nearby objects. A unique rooftop silhouette or an isolated tree against the sky works better than a cluster of similar buildings.
Step-by-Step Daytime Alignment
Here is the procedure I use to align a finderscope before every observing session:
Step 1: Set up your telescope on a stable mount in a location where you can see your chosen alignment target. Make sure the mount is level and the telescope is balanced.
Step 2: Insert your lowest-power eyepiece into the focuser. This is usually the 25mm or 32mm eyepiece that came with your telescope, not a high-magnification eyepiece. You use the low-power eyepiece first because it gives you the widest possible field of view, which makes it much easier to find your target even if the finder is badly misaligned. A high-magnification eyepiece shows such a tiny patch of sky that you might not be able to locate anything at all when starting from scratch.
Step 3: Without using the finderscope, aim your telescope roughly at the distant target and look through the eyepiece. Move the telescope slowly until your target appears in the field of view. Once you find it, use the slow-motion controls to center it precisely in the eyepiece.
Step 4: Lock the telescope in place so it will not move. Double-check through the eyepiece that your target is still centered. If it drifted, re-center it.
Step 5: Now look through the finderscope. Your target is probably off-center or possibly not visible at all. This is normal. Use the adjustment thumbscrews or alignment knobs on the finder bracket to move the crosshair or red dot until it sits exactly on top of your target.
Step 6: Adjust the thumbscrews in small increments. Most finder brackets have three or six thumbscrews arranged in two rings around the finder body. To move the finder in one direction, loosen the thumbscrew on the opposite side and tighten the one on the side you want the finder to move toward. Work gradually rather than making large adjustments.
Step 7: Switch to a higher-magnification eyepiece and repeat the process. Center the target again in the main scope, then verify the finder still points at it. Higher magnification gives you a smaller field of view, which means any remaining misalignment becomes more obvious. Fine-tune the thumbscrews until the finder and telescope agree at high power.
Step 8: Double-check one final time at low power to make sure everything is consistent. Your finder scope alignment is now set for the night.
How to Align a Red Dot Finderscope
The process for aligning a red dot finder is nearly identical to an optical finder, with a few differences. Start by turning on the red dot projector and adjusting the brightness so the dot is visible but not overwhelming. Too bright and the dot will flare and obscure your target.
Center your distant target in the main telescope using a low-power eyepiece, lock the scope, then look through the red dot finder window. Use the two or three adjustment knobs on the finder body (typically one for altitude and one for azimuth) to move the dot until it sits directly on your target.
Red dot finders often have a spring-loaded mount design where the adjustment screws push against spring tension. This means tightening one screw will automatically push the dot in that direction while the spring holds the finder firmly against the screw tips.
Nighttime Verification Before Observing
Daytime alignment gets you 95 percent of the way there, but you should always verify at night before your actual observing session begins. Temperature changes, transport vibration, and the different optical properties of stars versus terrestrial objects can all introduce small shifts.
Wait until after sunset when the first bright stars or planets are visible. Polaris is an excellent verification target if you live in the Northern Hemisphere because it barely moves, giving you plenty of time to check alignment without the object drifting out of view.
Center a bright star in your telescope using a low-power eyepiece, then check the finder. If the star sits under the crosshair or red dot, you are good to go. If it is slightly off, make small adjustments to the thumbscrews to bring it back to center.
Once you switch to a higher-magnification eyepiece for observing, check alignment one more time. A target that looks centered at 30x might be slightly off at 150x. Fine-tune as needed.
Make this verification a habit at the start of every session. It takes about two minutes once you are used to it, and it saves you from spending twenty minutes wondering why you cannot find that faint nebula.
Troubleshooting Common Alignment Problems
Sometimes alignment does not go smoothly. Here are the most common problems and how to fix them, based on what astronomers report on forums like Reddit’s r/telescopes and CloudyNights.
The finder will not move despite turning the thumbscrews. Check whether the thumbscrews have bottomed out against the finder body or have been loosened so far that the finder is floating freely. You may need to reseat the finder in the bracket. Loosen all screws, center the finder in the rings, then begin the adjustment sequence again.
The finder shoe or base is mounted crooked on the telescope tube. This is a surprisingly common issue. If the dovetail shoe is not square to the optical tube, no amount of thumbscrew adjustment will give you a full range of motion. Loosen the shoe mounting screws, reposition it so it sits straight, and retighten. One Reddit user reported that loosening and repositioning the shoe fixed chronic misalignment that had frustrated them for weeks.
The finder shifts after transport. Two-ring mounts can shift during car rides or when the telescope is bumped. Check that all ring screws are tight before aligning. If your finder chronically loses alignment after transport, consider upgrading to a more rigid dovetail bracket.
The finder image is upside down or reversed. This is completely normal for straight-through optical finders, which typically show an inverted image. Right-angle (RACI) finders show a correct-image view. Red dot finders have no image inversion at all. An upside-down finder image does not affect alignment accuracy. You simply orient yourself to the flipped view, and the crosshair still points at the same object in both the finder and the telescope.
The finder arrived misaligned from the factory. Many new telescopes ship with the finder pointing in a wildly different direction than the main tube. This is expected. Do your first daytime alignment before judging whether the finder works properly.
Solar Safety Warning
Never point your telescope or finderscope at the sun during daytime alignment. Doing so can cause permanent eye damage or blindness in a fraction of a second, and the focused sunlight can also start fires inside the telescope tube. Always choose terrestrial targets well away from the sun’s position in the sky.
If you are aligning near the sun, double-check where your telescope is pointing before looking through any eyepiece. This is especially important during daytime when the sun may be high and hard to avoid. The risk is real and should be taken seriously.
Pre-Observing Session Checklist
Run through this quick checklist before every observing session to confirm your finder is ready:
1. Confirm the finder is securely mounted and all thumbscrews are snug.
2. Do a quick daytime alignment if you have time, or verify at twilight.
3. Once stars appear, center a bright star in the main scope and check the finder.
4. Fine-tune with small thumbscrew adjustments if needed.
5. Switch to your observing eyepiece and verify alignment one final time.
6. If you use a red dot finder, check the battery and brightness level.
Frequently Asked Questions
How do you align your finderscope?
To align a finderscope, point your telescope at a distant stationary object during daytime using a low-power eyepiece. Center the object in the main eyepiece, lock the telescope, then use the thumbscrews on the finder bracket to move the crosshair onto the same object. Switch to a higher-magnification eyepiece and fine-tune for precision.
How to align a red dot finderscope?
Center a distant target in your telescope using a low-power eyepiece, lock the scope, then turn on the red dot finder. Use the altitude and azimuth adjustment knobs on the finder body to move the red dot until it sits directly on the target. Keep the brightness low enough that the dot does not flare.
Why is it important to align the viewfinder on a telescope?
Aligning the viewfinder is essential because it ensures that any object centered in the finder also appears in the telescope eyepiece. Without alignment, objects in your finder may be completely outside the telescope’s much narrower field of view, making it nearly impossible to locate celestial targets.
What distance should the alignment target be?
The alignment target should be at least a half mile away for best results. Closer objects can cause parallax errors where the finder and telescope focus at slightly different apparent positions. A distant telephone pole, chimney, or rooftop works well.
Why is my finderscope image upside down?
Most straight-through optical finderscopes produce an inverted (upside-down and reversed) image because they use a simple lens system without image-correcting optics. This is normal and does not affect alignment accuracy. Right-angle RACI finders and red dot finders show a correct, non-inverted image.
Conclusion
Learning to align a finderscope before an observing session is one of those foundational skills that makes every night under the stars more productive. The process is straightforward: do your initial alignment during the day on a distant target using a low-power eyepiece, verify at night on a bright star, and fine-tune with the thumbscrews as needed. If you run into problems, check the finder shoe mounting and bracket screws before assuming the finder itself is faulty.
Make alignment a two-minute ritual at the start of every session. Once it becomes second nature, you will spend less time hunting and more time observing.