
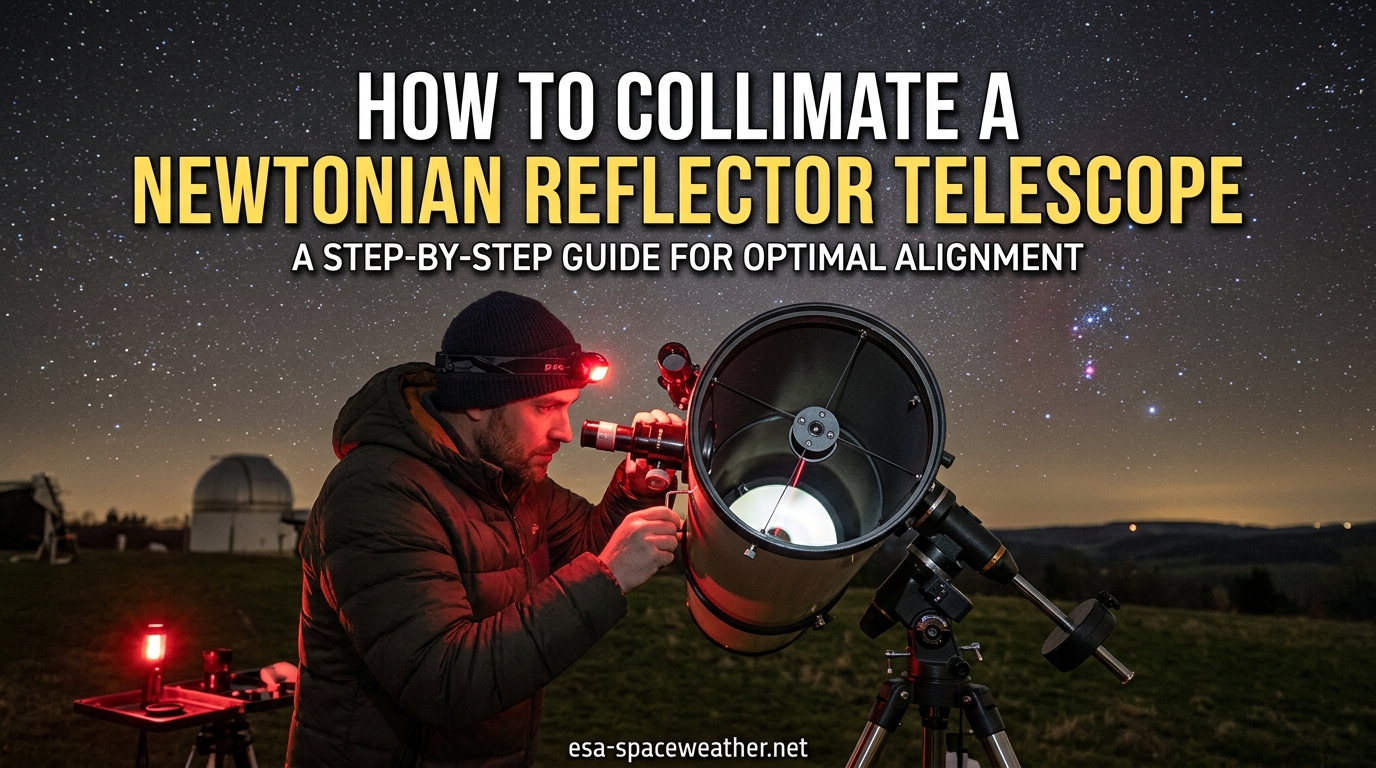
If you have ever pointed your Newtonian reflector at a planet and seen a blurry, smeared mess instead of crisp rings and sharp detail, your telescope probably needs collimation. Learning how to collimate a Newtonian reflector telescope is the single most important skill any reflector owner can develop. It is also the step that beginners skip most often, and the one that makes the biggest difference in image quality.
I remember spending an entire night frustrated with my first Dobsonian, convinced the optics were defective. The mirrors were fine. They were just out of alignment by a fraction of a millimeter. Once I learned to collimate properly, the views transformed from disappointing to breathtaking.
The good news is that collimation is not difficult once you understand what you are doing. This guide walks through every step in plain language, covers the tools you need (including a free DIY option), and addresses the common confusion points that trip up beginners. By the end, you will be able to align your mirrors with confidence.
Table of Contents
What Is Collimation?
Collimation is the process of aligning the mirrors inside a telescope so that they share the same optical axis and direct starlight precisely to the center of your eyepiece. In a Newtonian reflector, two mirrors work together: a large primary mirror at the back of the tube and a small secondary mirror near the front. When both are properly aligned, the light path converges exactly where your eye or camera sits.
Think of it like tuning a guitar. The strings can be close to pitch and the song still sounds off. Similarly, mirrors can be almost aligned and still produce soft, disappointing images. A telescope only delivers its full performance when everything is dialed in precisely.
Every Newtonian reflector goes out of collimation eventually. Transport in a car, bumps, temperature changes, and even normal use can shift the mirrors slightly. Fast focal ratio telescopes (f/4 to f/5) are especially sensitive because their “sweet spot” of sharp viewing is smaller. An f/6 or slower telescope tolerates minor misalignment better but still benefits from regular checks.
Understanding Your Newtonian Reflector’s Mirrors
Before adjusting anything, it helps to understand the parts involved. Your Newtonian reflector has several components that factor into collimation, and knowing what each one does makes the process far less intimidating.
The primary mirror sits at the bottom of the telescope tube inside an adjustable mirror cell. This is the large mirror that collects and focuses light. It has three adjustment screws (and sometimes three locking screws) on the back of the cell that let you tilt the mirror in small increments.
The secondary mirror is the small flat mirror mounted near the front of the tube on a structure called the spider. It catches the focused light cone from the primary and redirects it out the side of the tube through the focuser and into your eyepiece. The secondary mirror has its own set of adjustment screws, usually three, that control its tilt.
The focuser is the tube on the side of the telescope where you insert your eyepiece. For collimation purposes, the focuser defines the reference point. Everything you do during collimation is about getting both mirrors to send light straight through the focuser’s optical axis.
The spider vanes are the thin metal arms that hold the secondary mirror in place at the center of the tube. They also allow you to move the secondary closer to or farther from the primary, which is the first part of secondary mirror alignment.
Tools You Need to Collimate a Newtonian Reflector Telescope
You do not need expensive equipment to collimate properly. Several methods exist, and each requires different tools. Here is what you should have on hand.
A collimation cap is the simplest and cheapest tool. It is a blank eyepiece-sized cap with a small peephole drilled in the center. You look through the peephole to see the mirror reflections and adjust accordingly. Many telescopes include one. If yours did not, you can make one by drilling a 1mm to 2mm hole in the center of a plastic film canister lid or a dust cap that fits your focuser.
A Cheshire eyepiece is a step up from a basic collimation cap. It has a peephole like the cap but adds an illuminated face that makes it easier to judge mirror alignment in daylight. Cheshire eyepieces are affordable and provide more precision than a simple cap.
A laser collimator is a device shaped like an eyepiece that projects a laser beam down the focuser tube. The beam bounces off the secondary, then the primary, and returns. If the returning beam exits through the same hole it entered, your collimation is good. Laser collimators are fast and popular, but they have a catch: the laser itself must be collimated, or it will give you false results.
An Allen key or hex wrench set is usually needed to adjust the secondary mirror screws. Check your telescope’s manual to find the right size.
None of these tools are mandatory for basic collimation. You can achieve good results with nothing more than a DIY collimation cap made from a film canister. Start simple and upgrade as you gain confidence.
How to Collimate a Newtonian Reflector Telescope: Step-by-Step Guide
This is the core process. Follow these steps in order, and take your time. Most beginners complete their first collimation in about 30 minutes. After a few practice sessions, you will finish in under 10 minutes.
I recommend doing your first few collimation attempts during the daytime. You can see what you are doing, you do not waste precious observing time, and you can practice without pressure. Set up your telescope indoors or in a garage facing a well-lit wall.
Step 1: Mark the Center of Your Primary Mirror
Before you can collimate, you need a reference point at the exact center of your primary mirror. Many new telescopes come with this already marked, but if yours does not, you need to add it. Do not skip this step. The center mark is what tells you when the mirrors are aligned.
The safest method is to place a small ring-shaped paper reinforcement (the kind used on loose-leaf paper holes) at the exact center. Some astronomers use a dab of corrective fluid or a tiny adhesive paper ring. The mark sits at the center of the mirror, which is covered by the secondary mirror’s shadow during use, so it never affects your viewing.
To find the exact center, measure across the mirror in several directions and mark where the lines cross. Apply the reinforcement ring carefully. This center dot gives you a visible target when you look through your collimation tool.
Step 2: Adjust the Secondary Mirror
The goal here is to position the secondary mirror so that it is centered under the focuser and tilted to reflect the primary mirror’s view straight into your eyepiece. This is the step that frustrates beginners most, but it becomes straightforward with practice.
Insert your collimation cap or Cheshire eyepiece into the focuser and look through the peephole. You will see a series of concentric reflections. If the secondary mirror is misaligned, these reflections will look off-center or tilted.
First, check that the secondary mirror appears centered under the focuser. If it looks shifted to one side, adjust the central screw on the spider to move the secondary closer or farther from the primary. The secondary should sit directly in line with the focuser drawtube.
Next, adjust the three tilt screws on the secondary mirror holder. Turn them in small increments, about a quarter turn at a time. Your goal is to make the secondary mirror reflect the primary mirror so that the primary appears perfectly round and centered when viewed through the peephole. The edge of the primary should appear evenly spaced all around inside the secondary’s reflection.
Once the primary mirror looks centered and round in the secondary, the secondary alignment is done. This step usually stays stable for a long time, so you will not need to repeat it often.
Step 3: Align the Primary Mirror
Now you adjust the primary mirror’s tilt so that its optical axis points directly at the center of the secondary mirror and through to your eyepiece. This is the adjustment you will make most frequently.
Look through your collimation cap or Cheshire eyepiece again. You should see the center dot on the primary mirror. If the primary is misaligned, the reflection of the peephole (or the Cheshire’s illuminated target) will appear off to one side of that center dot.
Go to the back of the telescope and find the three primary mirror adjustment screws on the mirror cell. These are typically knurled knobs you can turn by hand. Turn one screw slightly and check the view through your collimation tool. You will see the reflection move. Your goal is to bring the reflection of the peephole or target so that it sits perfectly centered over the center dot on the primary.
Work slowly. Small turns produce visible shifts. If a screw feels stiff, loosen the other two slightly before forcing it. Never over-tighten any single screw, as this can stress the mirror and introduce astigmatism.
Some mirror cells have locking screws in addition to adjustment screws. If yours does, loosen the locking screws before adjusting, then gently tighten them after you finish. Do not crank them down hard, or they will shift the mirror.
Step 4: Verify and Fine-Tune
After you make your adjustments, check everything one more time. Look through the collimation tool and confirm that all reflections are concentric and centered. The view should show a series of perfectly nested circles with the peephole dead center.
For the final verification, take the telescope outside at night and perform a star test. Point at a moderately bright star (Polaris is ideal because it barely moves) and use a medium-power eyepiece. Slightly defocus the star until you see a disk with a dark center and concentric diffraction rings.
If the rings are perfectly concentric, your collimation is spot on. If the rings appear slightly off-center, make tiny adjustments to the primary mirror screws until the defocused star becomes symmetric. This star test is the most accurate verification method available and costs nothing.
Collimation Methods Compared
Different tools and techniques can get you to the same result. Here is how the main methods compare so you can choose what works for your situation and budget.
The collimation cap method is the most accessible. It costs nothing if you make your own from a film canister or spare dust cap. The cap gives you a centered peephole to view mirror reflections and is perfectly adequate for getting your telescope into good alignment. The downside is that judging fine adjustments requires practice, and the precision is limited by your eye’s ability to detect small offsets.
The Cheshire eyepiece method adds precision over a plain cap. The illuminated reference face makes it much easier to judge the primary mirror alignment in daylight. Cheshire eyepieces are inexpensive (often under $30) and are the tool I recommend for most beginners. They work well even in less-than-ideal lighting conditions and give consistent, repeatable results.
The laser collimator method is fast and satisfying. You insert the laser, turn it on, and watch where the dot lands. Adjusting the mirrors until the returning beam exits through the same hole feels precise and straightforward. However, there are two important caveats. First, the laser collimator itself must be collimated (the beam must exit perfectly parallel to the device’s body). Many budget laser collimators are slightly off, which introduces errors. Second, the laser only tells you about axial alignment and cannot detect whether the secondary mirror is properly centered under the focuser.
The star collimation method requires no tools at all beyond an eyepiece. You observe a defocused star and adjust the primary mirror until the diffraction pattern is perfectly symmetric. This is the most accurate method because it tests the actual optical performance under real conditions. The catch is that it requires a clear night, a reasonably steady atmosphere, and enough experience to interpret what you see. Most astronomers use star collimation as a final check after doing an initial alignment with a cap, Cheshire, or laser.
My recommendation for beginners: start with a collimation cap or Cheshire eyepiece, and learn to finish with a star test. This combination costs very little and produces excellent results.
Common Collimation Mistakes and How to Avoid Them
Over years of helping beginners in astronomy forums and clubs, the same mistakes come up repeatedly. Avoiding these will save you hours of frustration.
Do not confuse collimation with GoTo alignment. This is the most common source of confusion. Three-star alignment (or any star alignment on a computerized mount) tells the telescope’s computer where it is pointing. It has nothing to do with mirror alignment. Collimation adjusts the physical mirrors inside the tube. They are completely separate processes that serve different purposes.
Do not over-adjust the secondary mirror. Beginners often twist the secondary adjustment screws too aggressively, throwing the mirror far out of position. Make small, quarter-turn adjustments and check the view after each one. The secondary rarely needs major changes once it is set correctly.
Do not skip the center dot. Without a center mark on your primary mirror, you have no reference for whether the primary is aligned. Take the time to add one before your first collimation attempt.
Do not forget thermal equilibrium. If your telescope has not cooled to outside temperature, air currents inside the tube can make stars look soft and wavy. This mimics poor collimation. Let your telescope sit outside for 30 to 60 minutes before concluding that the mirrors need adjustment.
Do not expect collimation to stay perfect forever. Newtonian reflectors, especially Dobs that get transported frequently, shift slightly over time. Checking collimation before every other observing session is a good habit. Many experienced observers check it every single time out.
Do not trust a cheap laser blindly. Budget laser collimators can be off by enough to compromise your alignment. If you use a laser, verify it by rolling the collimator in the focuser. If the dot on the primary moves in a circle as you rotate it, the laser itself needs collimation.
FAQs
What is the easiest way to collimate a Newtonian telescope?
The easiest method for beginners is to use a collimation cap or Cheshire eyepiece. Insert the tool into the focuser, look through the peephole, and adjust the secondary and primary mirror screws until all reflections appear concentric and centered. You can make a free collimation cap by drilling a small hole in the center of a plastic cap that fits your focuser.
How do you collimate a Newtonian reflector for the first time?
Start by marking the center of your primary mirror with a small ring. Then adjust the secondary mirror so the primary appears centered and round when viewed through a collimation cap. Finally, adjust the primary mirror screws until the peephole reflection sits over the center dot. Plan about 30 minutes for your first attempt and practice during daylight.
What tools do I need to collimate a Newtonian telescope?
The essential tools are a collimation cap or Cheshire eyepiece, an Allen key or hex wrench for the secondary mirror screws, and optionally a laser collimator for faster adjustments. A DIY collimation cap made from a film canister lid works fine for beginners and costs nothing.
How often should you collimate a Newtonian telescope?
Most Newtonian reflectors need collimation every 2 to 3 observing sessions, especially if transported in a vehicle. Fast focal ratio scopes (f/4 to f/5) may need checking before every session. The secondary mirror alignment stays stable for months, while the primary mirror may shift more frequently.
Can you collimate a telescope without a laser?
Yes, absolutely. A collimation cap, Cheshire eyepiece, or even a simple star test at night can achieve precise collimation without a laser. Many experienced astronomers prefer the Cheshire method or star collimation over laser tools because they are more reliable and do not depend on the laser itself being properly aligned.
Is collimation the same as 3-star alignment?
No. Collimation adjusts the physical mirrors inside the telescope tube to ensure sharp images. Three-star alignment is a process for computerized GoTo mounts that tells the telescope where it is pointed in the sky. They are completely separate procedures that serve entirely different purposes.
Conclusion
Learning how to collimate a Newtonian reflector telescope takes patience the first time, but it becomes second nature quickly. The process comes down to four steps: mark your primary mirror center, adjust the secondary mirror to center the primary’s reflection, align the primary mirror so the optical axis hits the center dot, and verify with a star test. That is it.
The difference between a collimated and uncollimated telescope is dramatic. Planets snap into focus. Star clusters resolve into pinpoints. Nebulae reveal detail you could not see before. A 6-inch reflector with perfect collimation can outperform an 8-inch scope that is poorly aligned.
Start with a simple collimation cap, practice during the day, and do not be afraid to make adjustments. Every experienced astronomer started exactly where you are now. Once collimation clicks for you, it becomes a quick pre-observing ritual that takes minutes and pays off every single night under the stars.